Recording your Apple iPhone 14 mobile screen in a video with sound can be very useful for making tutorials or showing friends how to do a certain task on Apple iPhone 14, saving it in a video file and then sending it or uploading it to platforms like YouTube or social networks.
Sometimes we want to record videos with sound from stories we see on Instagram, friends, phone calls, or video calls (FaceTime) with family members to keep as a souvenir or use as evidence or TikTok videos.
To make this recording on your Apple iPhone 14, follow these steps:
Estimated time: 2 minutes.
1- First step:
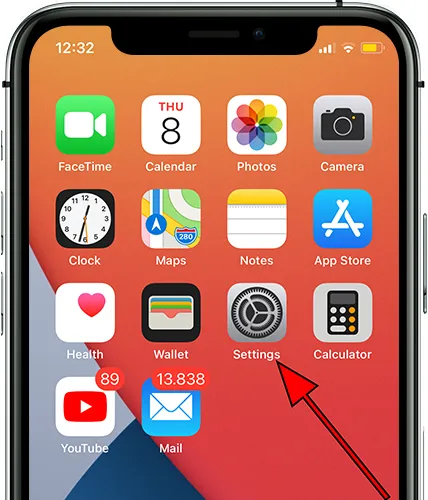
First of all, we have to make sure that screen recording is enabled on our iPhone 14. If it is activated, we can proceed to step 5. To check it, we can enter the “Settings” application which is represented by the gear icon that appears on the home screen of our Apple iPhone
2- Second step:
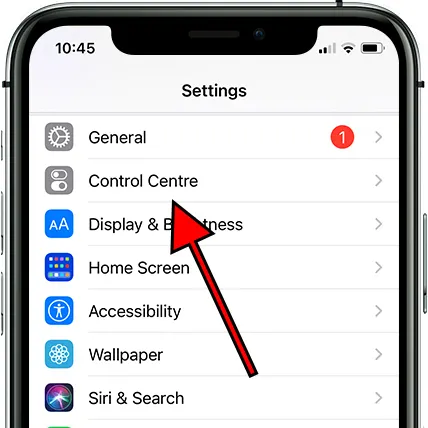
We scrolled down through the menu on the left until we found the “Control Center” section, clicked on it, then “Customize controls.”
3- Third step:
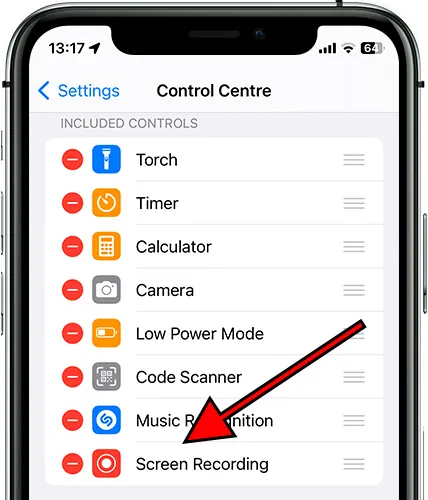
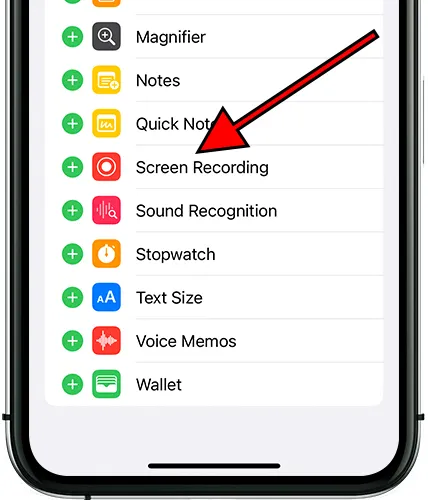
If we have enabled the screen recording control, it will appear in the first list we see on our iPhone 14 in the “ON” section. We can change the order in which they appear by clicking on the three horizontal lines to the right of the control and swiping up or down. We can also remove controls by clicking the red button on the left.
4- Fourth step:
If you don’t see any of these enabled controls, let’s go down, and under OTHER CONTROLS, it should appear. Click the green + Add to panel icon button to add it. Once this step is done, we can leave the Apple iPhone 14 settings.
5- Fifth step:
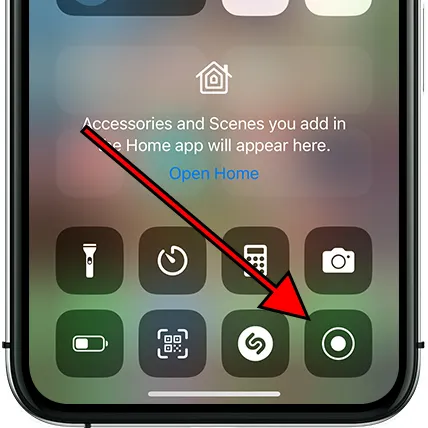
(iPhone 7 and lower and iPad with iOS 11 or earlier) Swipe from the bottom up from the screen where you want to start the video. (iPhone X, iPad with iOS 12 or iPad) From the screen where you want to start the video, swipe from the upper right corner down.
6- Sixth step:
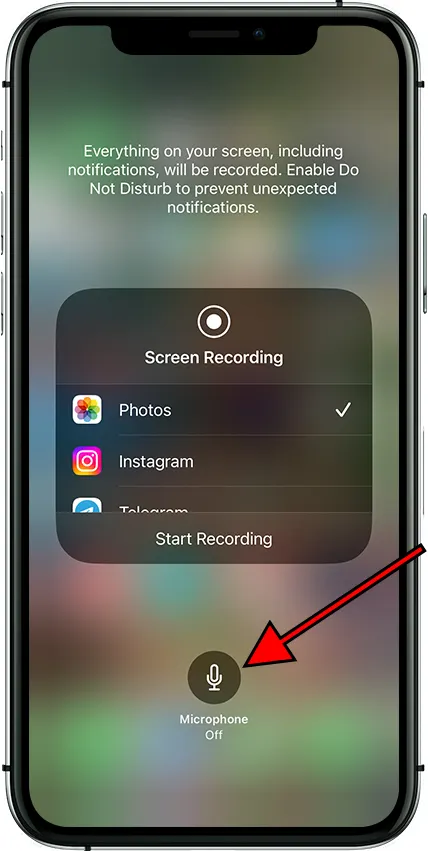
If you want to record a video on your Apple iPhone 14 without using the microphone, press the record icon. In that case, a 3-second countdown will start, and the recording will start; you will see a red line at the top of the screen and the word “Recording,” indicating that everything that happened on screen is being recorded.
If, in addition to the sound of the iPhone 14 itself, you want to record a video using the microphone (this is useful, for example, for explaining the operation of an application to acquaintances or for recording a message while recording a video from the screen of the Apple iPhone 14) Hold Press and hold the icon on the recording screen, press microphone to enable or disable it and press “Start Recording,” it will start a 3-second countdown and then start recording.
7- Seventh step:
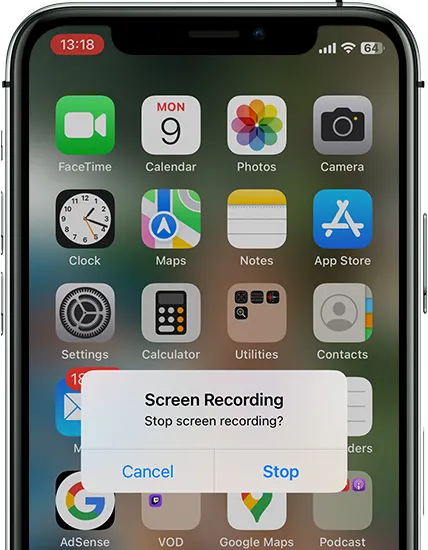
To stop recording, you can open the control center (point 5 of this tutorial) and click the stop recording button on the recording screen icon or click the red line on the status bar at the top and press stop.
8- Eighth step:
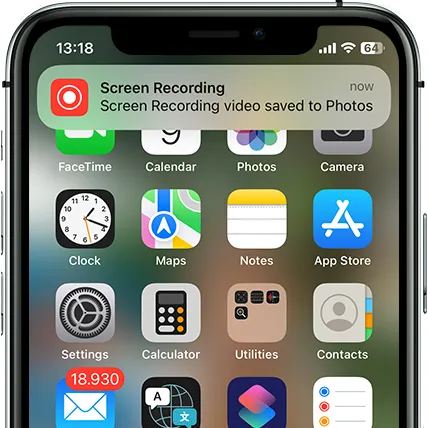
A message will appear at the top of your Apple iPhone 14 screen stating that the screenshot has been saved to Photos (formerly Camera Roll).
To view and share your recorded videos on your Apple iPhone 14 screen, open the Photos app, where you will find them last.